Follow Me On Social Media!
Gluten-Free Ladyfingers: The Best Homemade Treat You’ll Love
Introduction to Gluten-Free Ladyfingers
Imagine you’re at a lavish dessert table, your eyes gliding over a delightful array of treats, and then you spot them—gluten-free ladyfingers. These light, airy biscuits are not just sweets; they embody innovation and the ability to enjoy dessert without compromise. As a dessert lover who has experienced the restrictions of gluten sensitivity, discovering a recipe for gluten-free ladyfingers was nothing short of a revelation.
The beauty of gluten-free ladyfingers lies in their versatility. Traditionally, these delicate cookies serve as the base for desserts like tiramisu and charlotte, but they can also be enjoyed on their own, dipped in coffee, or spread with a luscious filling. By doing away with gluten, these ladyfingers become a comforting option for gatherings where dietary restrictions are a concern.
As more people explore gluten-free options, the demand for sumptuous desserts that everyone can indulge in has steadily grown. Making these gluten-free ladyfingers at home empowers you to control ingredients, ensuring that your sweet treats not only meet dietary needs but also satisfy the palate. They effortlessly fill the gap between tradition and modern dietary preferences, allowing us to share desserts without feeling left out.
Not only are gluten-free ladyfingers a treat for those avoiding gluten, they also offer a lighter alternative that adds an interesting twist to your dessert repertoire. Through trial and error, and with a few handy replacements, you can create a batch that rivals any classic version. The satisfaction of baking a dessert that caters to everyone at the table and still tastes heavenly is unmatched.
In the upcoming sections, I’ll share a straightforward recipe, breaking down the ingredients and processes to guide you through creating these delightful gluten-free ladyfingers. Whether you’re a seasoned baker or a beginner, you’ll find this recipe engaging and rewarding. Let’s dive into the magic of making your own batch!
Key Ingredients for Gluten-Free Ladyfingers
Creating gluten-free ladyfingers is an enjoyable journey into the world of baking, where you can indulge in a light, airy treat that brings the charm of traditional recipes without the gluten. Below are the essential ingredients that come together to craft these delightful cookies:
-
Eggs: They serve as a critical structure and leavening agent in the ladyfingers. I recommend using fresh, large eggs. Separating the yolks and whites helps attain a perfect balance of richness and volume. The whipped egg whites create the necessary lift, making your ladyfingers light and delicate.
-
Granulated Sugar: This is crucial for sweetening the batter and enhancing the texture. It’s best to gradually fold it into the egg whites, allowing for a stable foam that holds air well, resulting in a fluffy consistency.
-
Gluten-Free Flour Blend: For the perfect texture, I love using a quality gluten-free all-purpose flour blend. It should ideally include xanthan gum or similar agents to mimic the binding properties of traditional flour.
-
Vanilla Extract: A splash of pure vanilla extract not only enriches the flavor but also brings a lovely depth to the ladyfingers, contrasting beautifully with the sugar’s sweetness.
-
Salt: Just a pinch helps to enhance all the flavors. It balances the sweetness and adds complexity to the final product.
These ingredients work harmoniously to create irresistible gluten-free ladyfingers, perfect for your favorite desserts or a delightful coffee break.
Why You’ll Love These Gluten-Free Ladyfingers
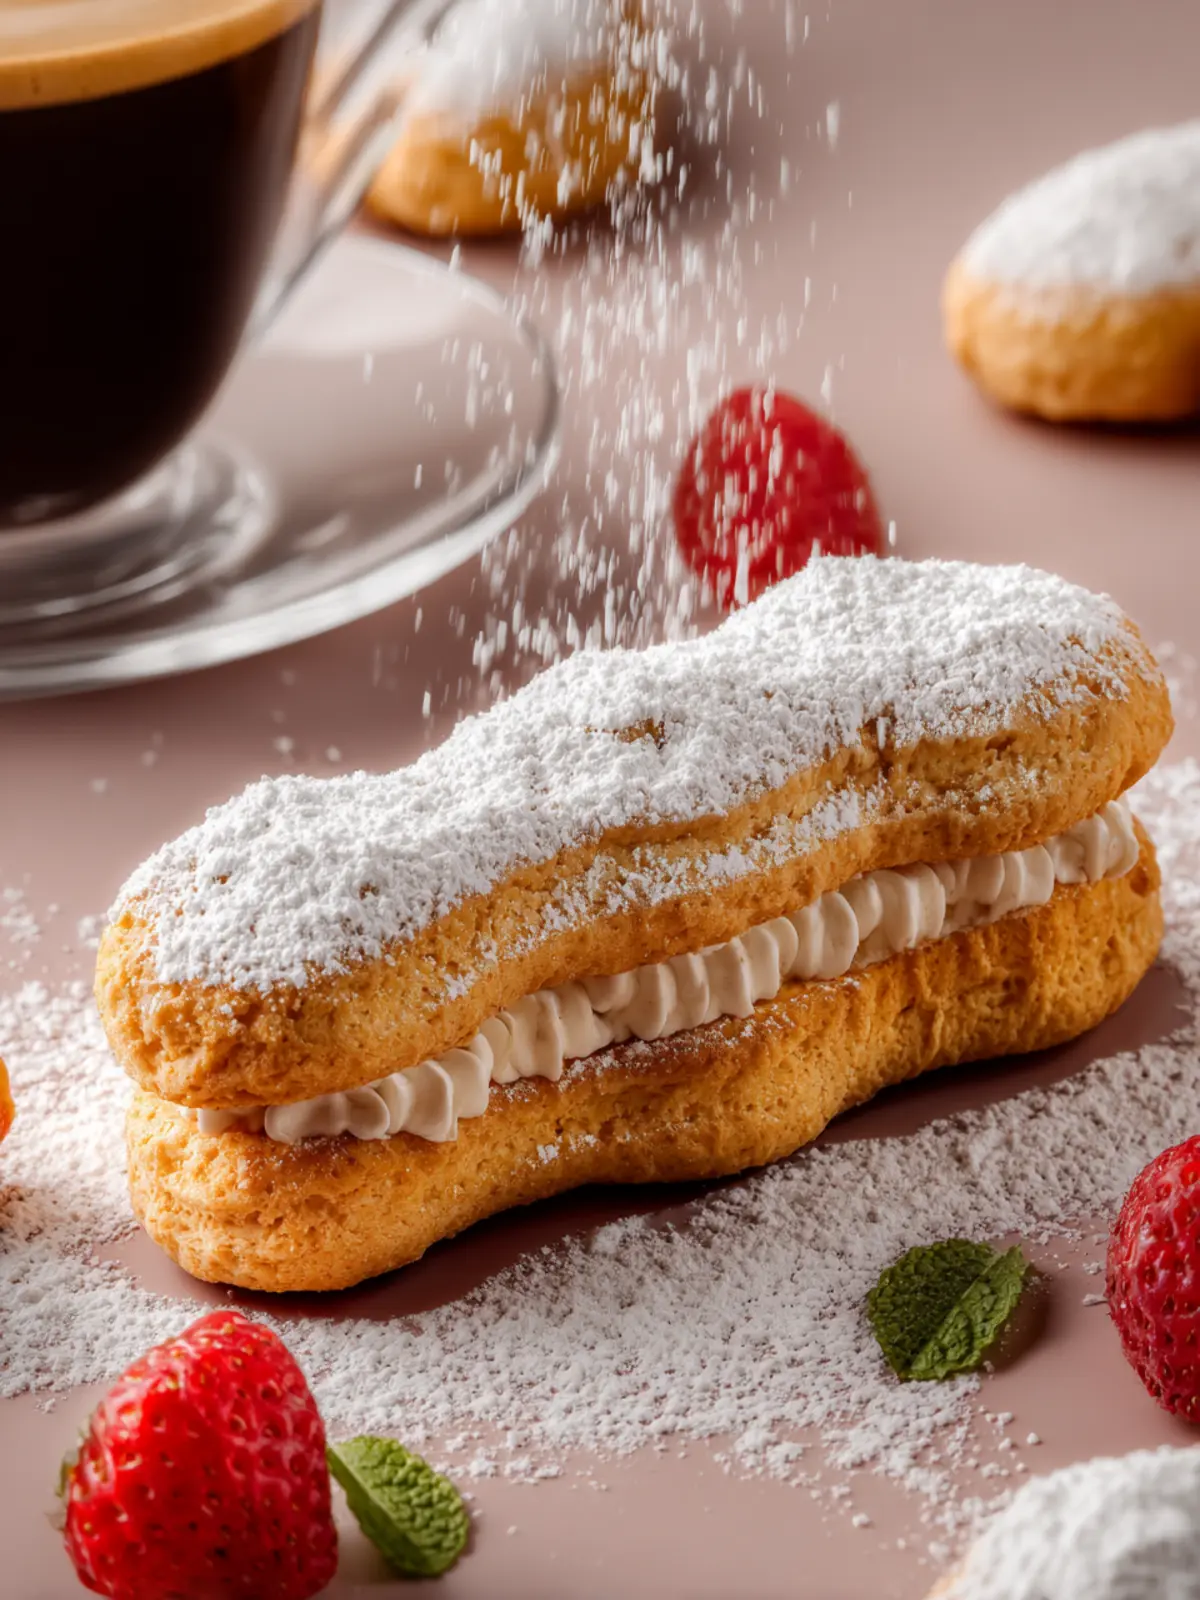
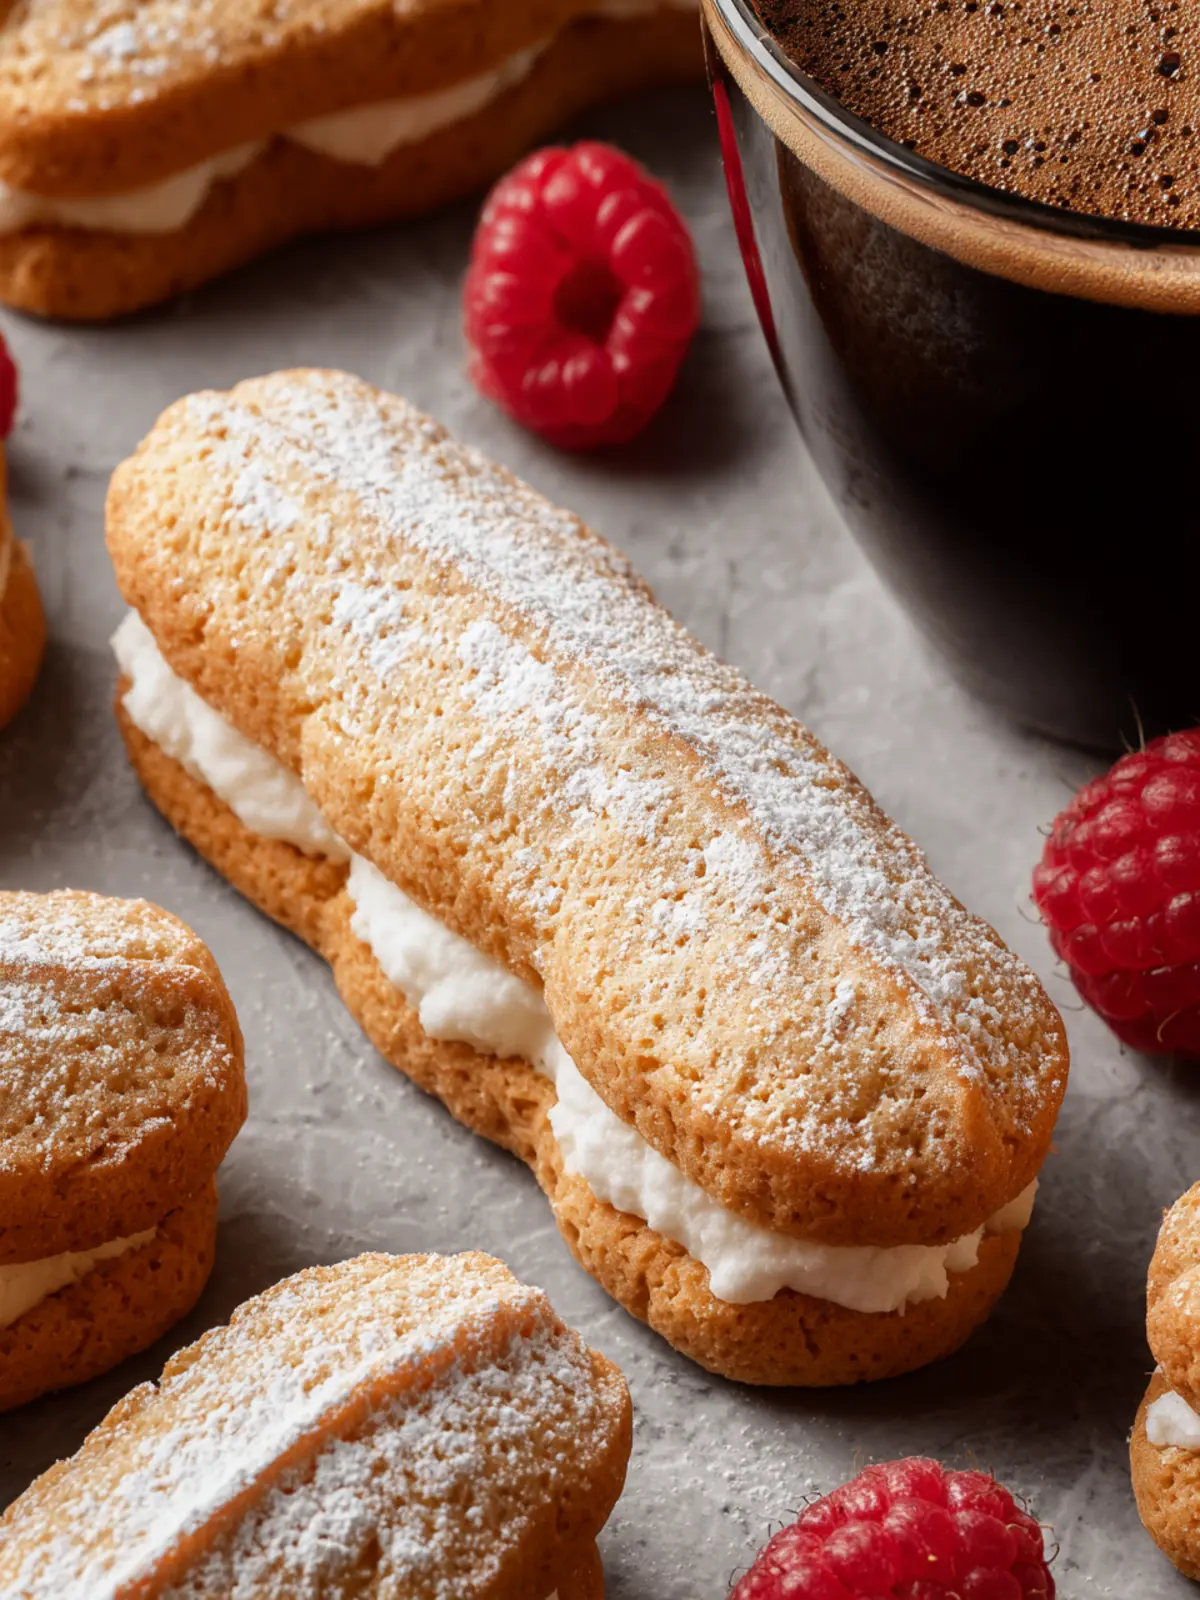
Imagine biting into a light, airy ladyfinger that melts in your mouth, all while being utterly gluten-free. These gluten-free ladyfingers not only deliver on texture but also add a delightful twist to your favorite desserts. Perfect for tiramisù or as a standalone treat, these ladyfingers are impossibly easy to whip up and will impress anyone at your next gathering.
Crispy Yet Soft Texture
What sets these gluten-free ladyfingers apart is their unique texture. The combination of beaten egg whites and carefully measured gluten-free flour creates a delicate, crispy exterior while keeping the interior soft and chewy. This makes them perfect for soaking up flavors in dishes like tiramisù, forming a harmonious blend of textures in every bite.
Versatility in Desserts
These ladyfingers can be used in more than just traditional recipes. Feel free to get creative! Layer them with fresh berries and cream for a quick parfait or serve them alongside a rich chocolate mousse. Their versatility means you can easily adapt them to suit various taste preferences.
Allergen-Friendly Enjoyment
For those with dietary restrictions, these gluten-free ladyfingers are a gateway to enjoying classic desserts without the worry. Made with simple ingredients and no processed substitutes, they cater to a wide range of diets while still satisfying that sweet tooth.
Ultimately, these gluten-free ladyfingers are a treat you will adore for both their delightful taste and their ability to fit seamlessly into your dessert repertoire. Enjoy baking and savoring these delicious bites!
Tips for Making Perfect Gluten-Free Ladyfingers
Creating magical gluten-free ladyfingers may seem daunting, but with a few expert tips, you can turn this classic treat into a delightful gluten-free version. Here’s how to elevate your baking game!
Choose the Right Flour
Selecting the right flour is crucial when making gluten-free ladyfingers. A blend of almond flour and a gluten-free all-purpose flour works wonderfully. The almond flour not only enhances the flavor but also adds moisture, helping your ladyfingers stay soft and tender.
Whip Those Egg Whites
For the perfect texture, whip the egg whites until they form stiff peaks. This aerates the batter, giving your ladyfingers the lightness they need. Be patient—this process can take a bit of time, but it’s worth it for that airy texture!
Carefully Fold in Ingredients
Once you’ve whipped the egg whites, gently fold them into the yolk mixture. Use a spatula and a delicate hand to maintain the airiness you’ve created. This step is key to achieving a light, fluffy result.
Monitor Baking Time and Temperature
Keep an eye on your gluten-free ladyfingers as they bake. They should be light golden and firm to the touch. Overbaking can lead to dryness, so use a timer and start checking a few minutes before the suggested time.
Storage Considerations
If you’re preparing these in advance, remember that gluten-free goodies can dry out quickly. Store your ladyfingers in an airtight container to maintain their moisture and softness until serving.
By following these simple tips, your gluten-free ladyfingers will not only taste fantastic but also impress anyone who tries them!
Time Details for Gluten-Free Ladyfingers
Preparation Time
Creating gluten-free ladyfingers is a delightful process, starting with a prep time of just 20 minutes. This is when you’ll gather all your ingredients and whip together the egg whites and yolks. It’s a great time to tune into your favorite playlist as you mix and measure!
Baking Time
The baking time for these delicate treats is approximately 15-20 minutes. During this period, your kitchen will fill with an irresistible aroma that’ll keep everyone guessing what’s cooking.
Total Time
In total, you’re looking at around 35-40 minutes from prep to the final golden-brown treats emerging from the oven. It’s a quick yet satisfying baking adventure that’s sure to impress your guests!
Nutritional Information for Gluten-Free Ladyfingers
When treating yourself to gluten-free ladyfingers, understanding their nutritional information becomes essential for both delighting your taste buds and maintaining a balanced diet. These sweet, airy delights can complement a variety of desserts, and here’s a little breakdown of their nutritional value.
Calories
One serving of gluten-free ladyfingers typically contains about 50 calories. This makes them a light option for when you want to indulge without feeling too heavy.
Protein
Despite their delicate texture, gluten-free ladyfingers pack in approximately 1 gram of protein per piece. This tiny boost can help complement the other components of your dessert.
Sodium
With a sodium content around 30 milligrams per serving, these ladyfingers are a low-sodium treat, making them a suitable choice for those monitoring their salt intake.
Incorporating gluten-free ladyfingers into your desserts provides not only variety but also a relatively healthy option that doesn’t skimp on taste!
FAQs about Gluten-Free Ladyfingers
Creating gluten-free ladyfingers at home can be a delightful experience, but you might find yourself with a few questions along the way. Let’s address some common queries to help you on your baking journey.
Can I substitute other flours?
Absolutely! While this recipe shines with a gluten-free all-purpose flour blend, you can experiment with various flours to suit your taste. Almond flour or coconut flour can add unique flavors and textures, but remember that their density may require adjustments in liquid to maintain the right consistency. If you choose to swap flours, it’s good to incorporate a binding agent like xanthan gum to maintain that light and airy texture that ladyfingers are famous for.
What’s the best way to store gluten-free ladyfingers?
To keep your gluten-free ladyfingers fresh and tasty, it’s best to store them in an airtight container at room temperature for up to three days. If you want to extend their shelf life, consider freezing them. Wrap them in plastic wrap or parchment paper and then place them in a freezer-safe bag. They can last up to two months. When you’re ready to use them, simply thaw them at room temperature.
How can I use these ladyfingers in recipes?
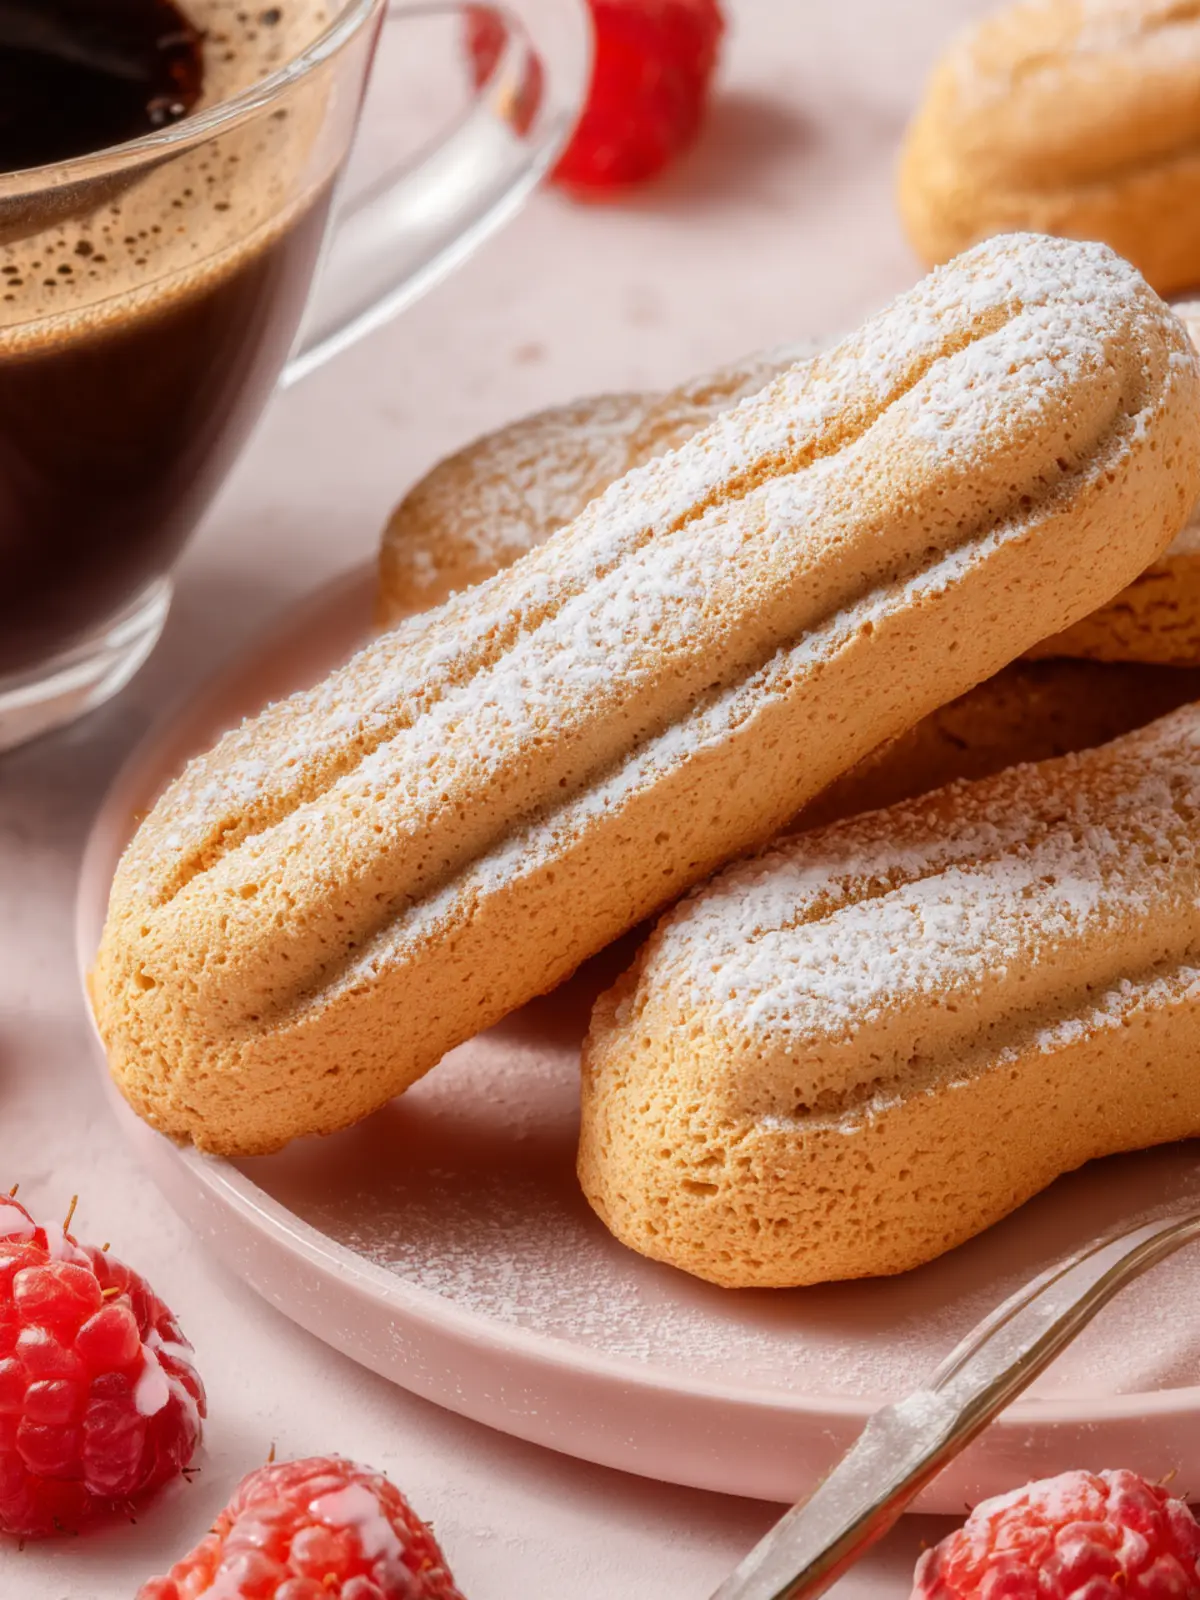
The versatility of gluten-free ladyfingers is fantastic! You can layer them in a classic tiramisu, soak them in fruit juices for a delicious parfait, or even use them as a base for a strawberry shortcake. They also make a delightful addition to desserts like charlotte or can be enjoyed with a dusting of powdered sugar alongside coffee or tea. Don’t hesitate to get creative—you might just stumble upon your new favorite treat!
Conclusion on Gluten-Free Ladyfingers
Crafting gluten-free ladyfingers at home is not just a delightful baking project; it’s a chance to create layers of flavor and texture that will elevate your desserts. These airy cookies serve as a perfect base for trifles or as a sweet complement to your favorite coffee. By using high-quality gluten-free flour and fresh ingredients, you ensure a delicious result your guests will appreciate. Plus, knowing you can customize sweetness and flavor makes these ladyfingers even more special. You’ll find that your gluten-free baking skills are not only satisfying but also impressively delicious, proving that gluten-free treats can stand shoulder to shoulder with traditional favorites.
Print
Gluten Free Ladyfingers
- Total Time: 47 minutes
- Yield: 24 ladyfingers 1x
- Diet: Gluten Free
Description
Delicious gluten free ladyfingers perfect for desserts and many recipes.
Ingredients
Scale
- 1 cup gluten free all purpose flour with xanthan gum
- ¾ teaspoon baking powder
- ½ teaspoon salt
- 3 large eggs
- ½ cup and 1 tablespoon granulated sugar (divided)
- 1 teaspoon vanilla extract
- Powdered sugar (for dusting)
Instructions
- Preheat your oven to 350°F (163°C) and line two baking trays with parchment paper.
- In a medium bowl, sift together your flour, baking powder, and salt. Set aside for later.
- Separate your egg yolks from the whites and place in separate medium-sized bowls.
- Mix your egg whites with a hand or stand mixer until it reaches soft peaks, then slowly add in half of your sugar and continue to beat until stiff peaks are achieved. Set aside.
- To your yolks, add your vanilla and the other half of the sugar and beat with a hand or stand mixer on medium-high speed until the mixture is pale in color and tripled in volume, about 4-5 minutes.
- Carefully fold in ⅓ of the egg whites into your yolk mixture by creating swooping motions from the bottom of the bowl to the top, being careful not to overmix and lose all the volume you worked hard to create. Once incorporated, add the remaining egg whites and fold until it’s almost all mixed in.
- Add in your flour mixture and carefully fold everything together, using the same swooping motion, just until there are no lumps.
- Once your batter is ready, pour it into a piping bag fitted with a ½ inch round piping tip. You can also use a gallon freezer bag and cut the corner off to about the same size.
- To your baking sheets lined with parchment, pipe your ladyfingers in neat rows, about 3-4 inches long, making sure to leave about 1-2 inches of space in between the cookies so that they don’t touch as they rise.
- Use a sieve or sifter to lightly dust the tops of the cookies with powdered sugar.
- Place both of the trays in the preheated oven and bake together for 15 minutes. Once done, drop the temperature to 300°F (150°C) for an additional 12 minutes. This step helps the cookies to dry out, creating a crispy cookie texture.
- Remove the trays from the oven and allow the cookies to rest until completely cool before enjoying.
Notes
- These ladyfingers can be used in various desserts such as tiramisu or eaten on their own.
- Ensure the egg whites are whipped to stiff peaks for the best texture.
- Prep Time: 20 minutes
- Cook Time: 27 minutes
- Category: Desserts
- Method: Baking
- Cuisine: Italian
Nutrition
- Serving Size: 2 ladyfingers
- Calories: 50
- Sugar: 5g
- Sodium: 50mg
- Fat: 1g
- Saturated Fat: 0g
- Unsaturated Fat: 0g
- Trans Fat: 0g
- Carbohydrates: 11g
- Fiber: 0g
- Protein: 1g
- Cholesterol: 70mg