Follow Me On Social Media!

Milk Bread Recipe: The Softest, Most Indulgent Treat Ever
Introduction to Milk Bread Recipe
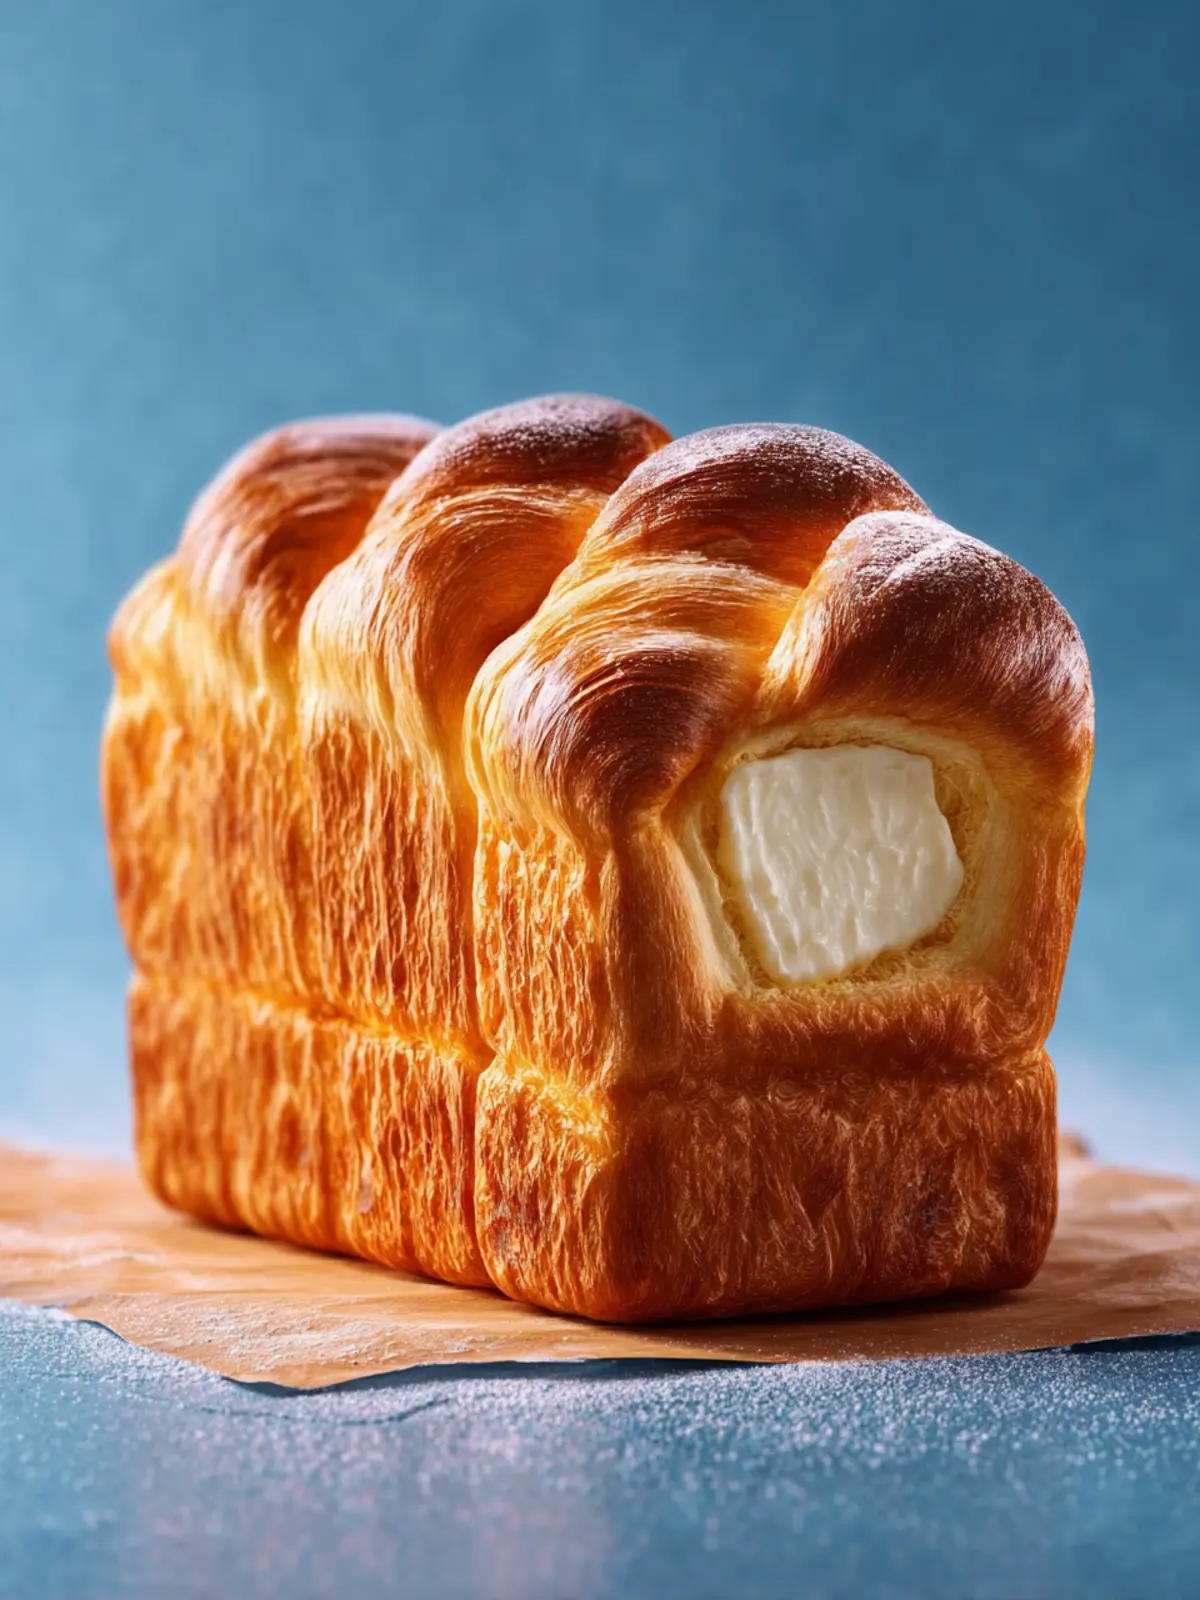
Picture a warm, inviting kitchen filled with the comforting aroma of freshly baked bread. The sensation of pulling a golden loaf from the oven is genuinely exhilarating. This milk bread recipe encapsulates that joy and brings it into your home. Milk bread, with its soft texture and subtle sweetness, has a way of turning simple moments into cherished memories. Imagine slicing into a loaf, the airy crumb glistening with a touch of butter, and knowing that this creation comes from your own hands; it’s a delightful experience that anyone can embrace.
The joy of homemade bread: Why it matters
Baking milk bread isn’t just about the end product; it’s about the entire experience. Engaging in this creative process is incredibly fulfilling and taps into a primal joy—transforming raw ingredients into something beautiful and delicious. It’s also a wonderful chance to slow down and savor each moment, whether you’re kneading dough, teasing your senses with enticing aromas, or sharing slices with loved ones.
Making bread at home can also be a fantastic way to bring people together. There’s something uniquely heartwarming about gathering around the kitchen counter, chatting while you prepare dough, and finally breaking bread together. As you share the loaves, you’re not just sharing food; you’re creating connection and tradition.
Moreover, homemade bread allows you to control the ingredients, ensuring that you use only what you and your family truly enjoy. With this milk bread recipe, you’ll relish the rich flavor from simple, wholesome ingredients like milk, flour, sugar, and yeast. It’s a straightforward approach to baking bread, inviting bakers of all skill levels to join in.
With each slice, you’ll savor not just the flavor but the heart and soul that go into every loaf. As you take the plunge into making your own milk bread, remember this: it’s more than just a recipe—it’s a canvas for creativity and a testament to the love of homemade traditions. Let’s dive into the ingredients and instructions that will lead you to your first loaf!
Key Ingredients for Milk Bread Recipe
All-purpose flour: The foundation for a fluffy texture
To achieve that textbook-perfect milk bread texture, all-purpose flour is your best friend. Its moderate protein content allows the dough to rise beautifully while maintaining that sought-after fluffiness. When you knead the dough, the gluten forms, creating the ideal structure that holds in those delightful air pockets.
Half and half: Enhancing richness and flavor
In this milk bread recipe, half and half isn’t just for your coffee. It adds an indulgent creaminess that makes each slice richer and more flavorful. This little secret ingredient takes your bread from good to extraordinary, ensuring it’s perfect for both toasting and snacking.
Instant yeast: Ensuring a perfect rise
Instant yeast is a game-changer for this milk bread recipe. It activates quickly and works faster than traditional yeast, giving your dough a lovely rise without the wait. You’ll find that this aids in achieving that beautifully airy loaf we all crave.
Granulated sugar: Balancing sweetness
A touch of granulated sugar generously sweetens the dough, enhancing the overall flavor profile. While you won’t have a sweet bread on your hands, this small amount elevates the other flavors beautifully.
Dry milk powder: Elevating creaminess
Incorporating dry milk powder into your bread adds not only creaminess but also aids texture. It helps to maintain moisture in the bread, ensuring it stays soft and tender for days.
Eggs: Adding structure and moisture
Eggs play a dual role in this milk bread recipe. They contribute to the structure of the loaf, helping it maintain its shape, while also providing moisture for that delightful softness. A perfectly incorporated egg is essential for the best results.
Salt: Bringing out flavors
Salt may seem simple, but it’s pivotal in enhancing the flavor of your bread. It balances sweetness while also strengthening the dough, allowing for a better rise and texture.
Butter: Creating tenderness in each bite
Butter is essential for richness, delivering an unmatched tenderness that transforms each slice into a melt-in-your-mouth experience. The flavor it adds? Simply luxurious.
Water: Activating the yeast
Lastly, a touch of warm water is vital for activating the yeast. It helps to create that perfect environment for fermentation to occur, ensuring your dough rises appropriately. Remember, the right temperature matters; too hot or cold can affect your bread’s success.
Why You’ll Love This Milk Bread Recipe
When you first bite into a slice of this milk bread, you’ll understand why it’s a favorite in many households. The milk bread recipe stands out for its incredible versatility and universally appealing taste, making it an instant winner for any meal.
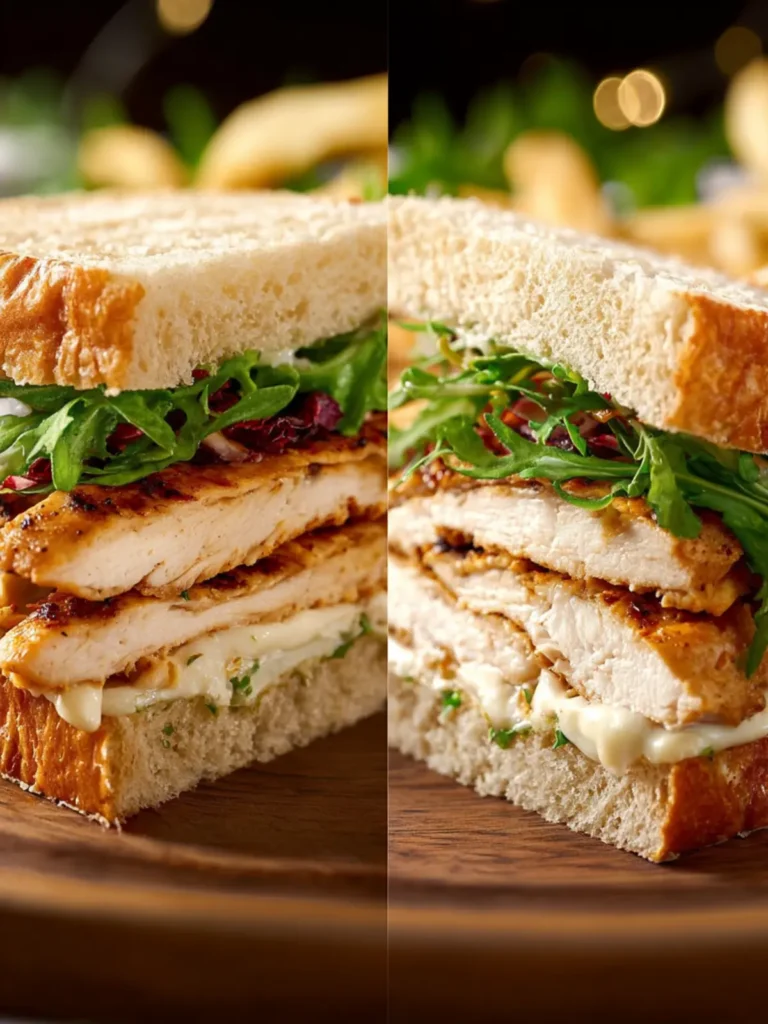
Perfect for any occasion: From sandwiches to toast
This milk bread isn’t just for breakfast; it’s the perfect companion for any meal. Whether you’re crafting a gourmet sandwich at lunch or toasting up slices for a cozy dinner at home, this bread adapts beautifully to any occasion. It even elevates simple peanut butter and jelly into a delightful treat.
Easy to make: A delightful beginner-friendly recipe
Don’t worry if you’re not a seasoned baker; this milk bread recipe is straightforward and approachable. With easy-to-follow instructions and simple ingredients, you’ll feel like a pro in no time. The process is fun and rewarding, making it a great activity for a relaxing evening or a busy weekend.
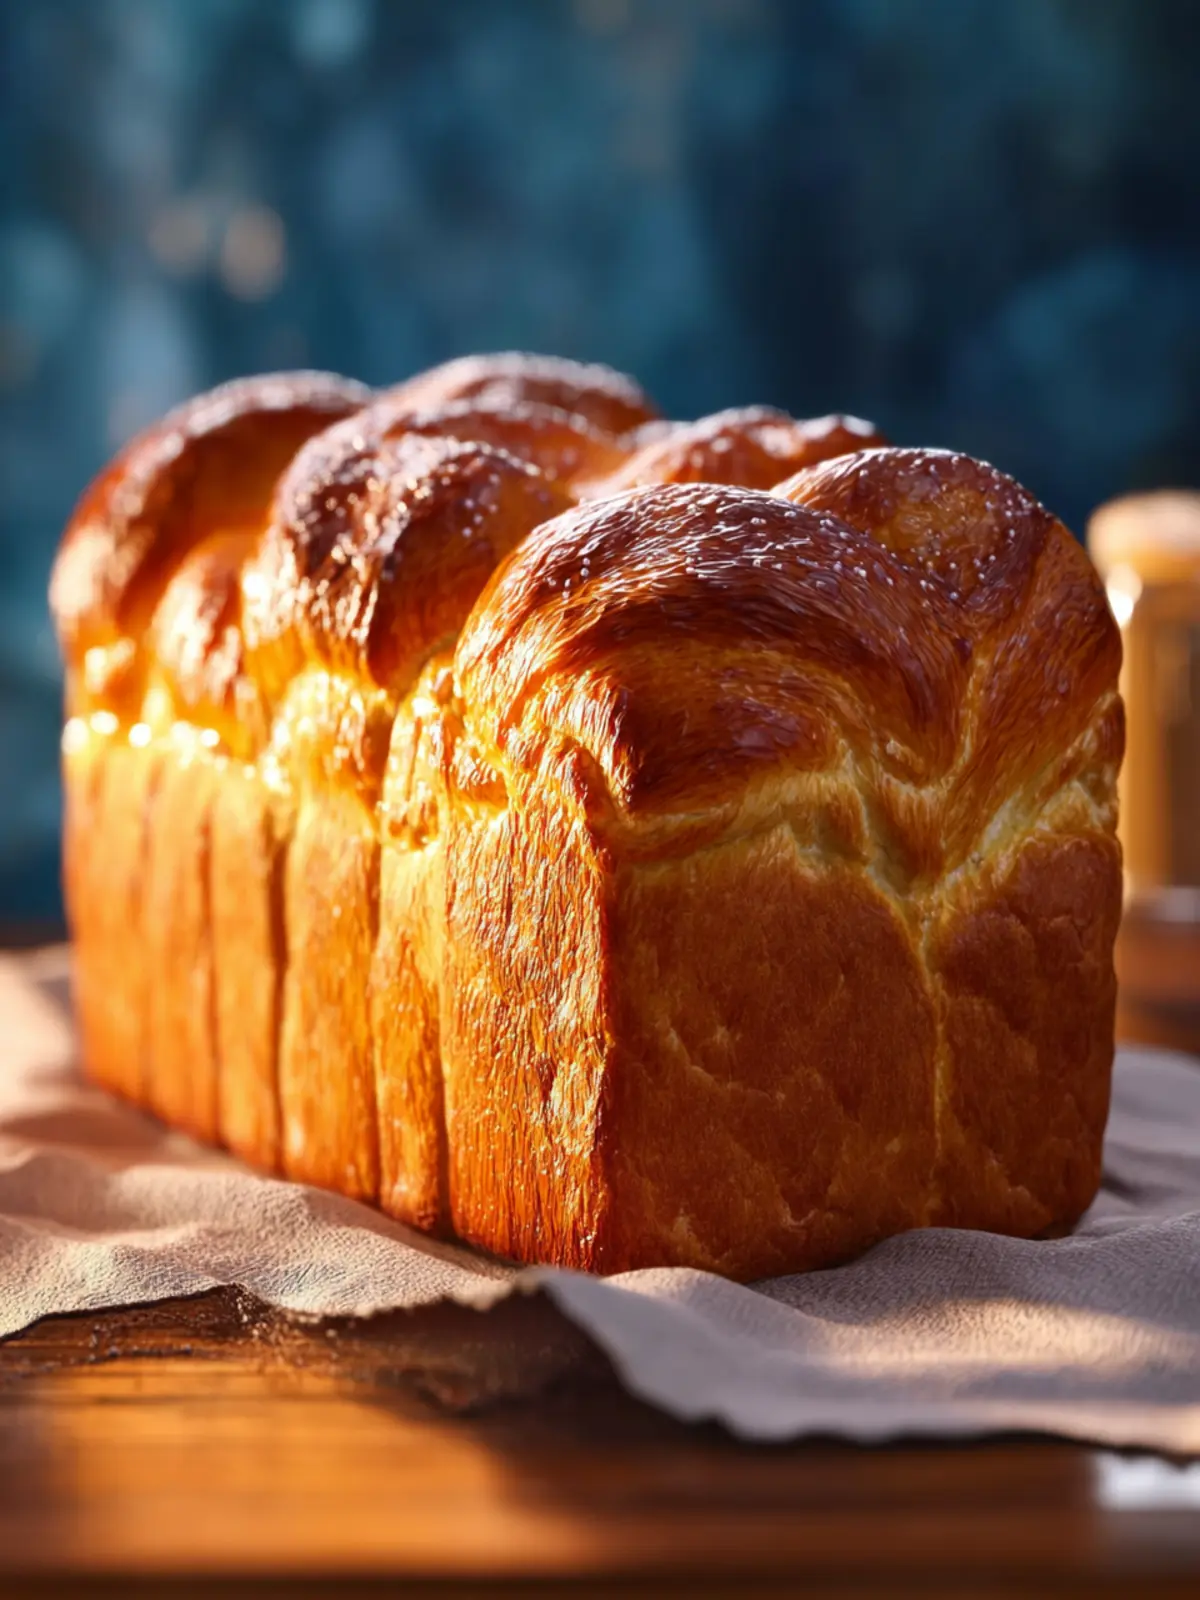
Soft and tender texture: Ideal for sharing with loved ones
The magic of this milk bread lies in its softness. Freshly baked, it invites you to share it with your family and friends. The tender texture melts in your mouth, making it perfect for everything from a casual weekend brunch to special gatherings where you want to impress.
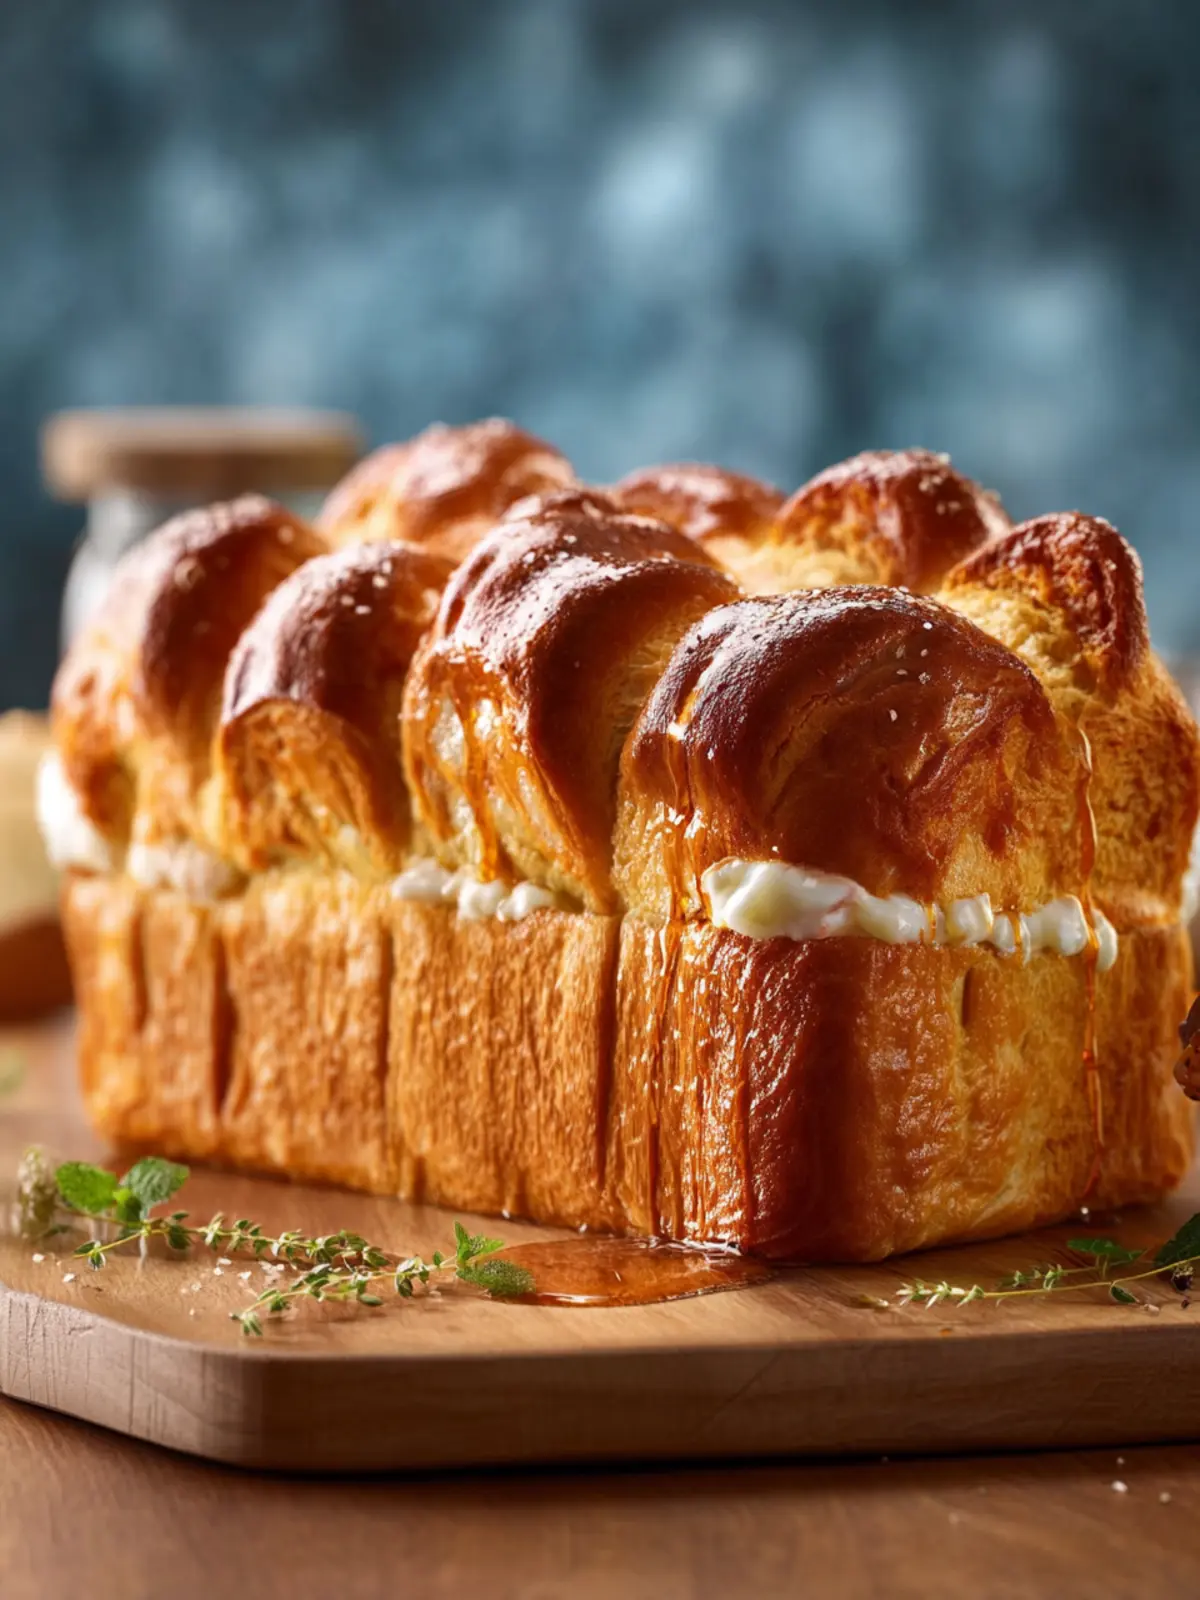
Versatility: Customize your bread with different toppings
Unleash your creativity by customizing this milk bread! Whether you prefer a sprinkle of cinnamon sugar, a spread of butter, or a layer of cream cheese topped with fresh fruits, the options are endless. This gives you the freedom to experiment and make it your own, ensuring every slice offers something new and delicious.
Variations of Milk Bread Recipe
Crafting a delightful milk bread recipe can be a personal experience, allowing you to infuse your favorite flavors into this beloved classic. Let’s explore some variations that elevate this basic recipe into something truly special.
Herb-infused milk bread: Adding aromatic herbs
Imagine slicing into a warm loaf of milk bread that carries the subtle essence of fresh herbs. By incorporating rosemary, thyme, or basil into the dough, you can enhance its flavor profile. Simply add about one tablespoon of finely chopped herbs to the dry ingredients before mixing, and enjoy the fragrant aroma while it bakes!
Chocolate chip milk bread: A sweet twist for dessert
If you’re in the mood for something sweet, why not transform your milk bread recipe into a delectable dessert? Toss in a cup of semi-sweet chocolate chips to the dough for a wonderful treat that pairs perfectly with coffee or tea. The melting chocolate creates a gooey center that turns a regular loaf into a mouthwatering indulgence.
Whole wheat milk bread: A healthier option
For a healthier yet delicious twist, consider using whole wheat flour instead of all-purpose flour. This variation not only boosts the nutritional value but adds a lovely nutty flavor. Combine whole wheat flour with a little vital wheat gluten to maintain that soft texture, keeping your milk bread recipe light and airy.
Savory cheese and garlic milk bread: Perfect for snacking
For those savory palates, a cheese and garlic variation will take your milk bread recipe to the next level. Add a cup of shredded cheese like cheddar or mozzarella and a couple of minced garlic cloves to the dough. The result is a cheesy, aromatic bread that’s perfect for snacking or pairing with soups and stews.
By experimenting with these variations, you can make your homemade milk bread a true showstopper!
Cooking Tips and Notes for Milk Bread Recipe
Creating a delightful milk bread recipe in your kitchen is not just about combining ingredients; it’s about crafting an experience that results in a soft, fluffy loaf that can elevate any meal. Here are some essential cooking tips to ensure your success.
The Importance of Correctly Measuring Ingredients
Accurate measurements are crucial when baking, especially for a milk bread recipe. Using a kitchen scale can make this task easier and more reliable, as weight is often more precise than volume. For example, 1 cup of flour can vary in weight depending on how it’s scooped. If you’re off by just a few grams, it could affect your dough’s texture and rise.
Why You Shouldn’t Skip the Kneading Step
Kneading your dough develops gluten, which is vital for giving your milk bread its signature soft texture and structure. Resist the urge to rush through this step. Knead the dough for about 10 minutes until it’s smooth and elastic. You’ll know it’s ready when it’s slightly tacky but doesn’t stick to your hands. It’s almost like a workout, so enjoy the process!
How to Prevent Dough from Sticking
A sticky dough can be frustrating, but there are easy solutions. Lightly flour your work surface and your hands as you knead. If your dough becomes overly sticky, adding a spoonful of flour at a time during kneading can help. However, be cautious—adding too much can lead to a drier bread.
Understanding Proofing and Its Role in Flavor Development
Proofing allows the yeast to ferment, developing flavors and creating a light texture. For your milk bread recipe, letting the dough rise in a warm place until it doubles in size (typically 1-2 hours) is essential. The longer the dough ferments, the better the flavor. It’s worth a little patience to achieve that bakery-quality taste.
With these tips, you’re well on your way to mastering a delicious milk bread that is genuinely homemade! Happy baking!
Serving Suggestions for Milk Bread Recipe
There’s something special about a milk bread recipe that transforms simple meals into delightful experiences. This versatile bread can be enjoyed in so many creative ways, making it a staple in my kitchen.
Making delicious sandwiches: Pairings to try
Milk bread serves as the perfect canvas for sandwiches. Try it with:
- Turkey and avocado for a fresh, creamy bite.
- Classic PB&J; the sweet and savory balance is unbeatable.
- Caprese-style with mozzarella, tomatoes, and basil for a delightful twist.
Serving it toasted with butter or jam
To truly savor milk bread, toast slices until they’re golden and crispy. Spread a generous pat of butter over the warm toast, allowing it to melt beautifully. Alternatively, pair it with your favorite jam—strawberry or apricot works wonders!
Using milk bread in French toast or bread pudding
Transform leftover milk bread into a splendid French toast. Soak it in a rich mixture of eggs, milk, and your favorite spices before pan-frying to crispy perfection. Moreover, consider making a decadent bread pudding; its subtle sweetness and soft texture create a cozy dessert experience that everyone will love.
These serving suggestions highlight just how versatile and delightful your milk bread recipe can be, sparking joy at every meal.
Time Breakdown for Milk Bread Recipe
When you’re ready to dive into the delicious world of milk bread, understanding the time commitment is key to a successful baking experience. Each phase is essential for achieving that soft, pillowy texture we all love.
Preparation time
The milk bread recipe starts with about 20 minutes of preparation. This includes gathering your ingredients, mixing the dough, and kneading until smooth.
Rising time
Next is the rising time, which can take approximately 1.5 hours. This allows the dough to double in size, enhancing its lightness and fluffiness.
Baking time
Once risen, baking the bread takes about 25-30 minutes. You’ll know it’s ready when the top turns a golden brown, filling your kitchen with an irresistible aroma.
Total time
In total, you’re looking at around 2 hours and 15 minutes from start to finish. While it may seem like a bit of a commitment, the result is well worth the wait! Your homemade milk bread will be both comforting and utterly delicious.
Nutritional Facts for Milk Bread Recipe
Understanding the nutritional facts of the milk bread recipe can really enhance your baking experience. It’s more than just delicious; it can be nourishing too!
Calories
In a single slice of milk bread, you can expect around 120-140 calories. This makes it a great option for breakfast or a midday snack.
Protein
Each slice packs about 4 grams of protein. While this isn’t a protein powerhouse, it contributes to the overall nutritional value of your meal.
Carbohydrates
You’ll find around 22-25 grams of carbohydrates per slice. This provides a quick energy source, perfect for keeping you fueled throughout your day.
Fats
Milk bread contains about 2-3 grams of fat per slice. This modest amount ensures you enjoy a soft and tender texture without overloading on excess fats.
This milk bread recipe offers a balanced treat that fits well into a variety of diets!
FAQs about Milk Bread Recipe
When diving into the world of baking with a milk bread recipe, you may find yourself seeking answers to a few common questions. Here’s a friendly guide to help clear up any uncertainty you might have!
Can I use different types of flour?
Absolutely! While all-purpose flour is a staple for making milk bread, you can experiment with other flours such as bread flour for a chewier texture or whole wheat flour for a nutty flavor. Just remember, using a different flour may alter the dough’s hydration level, so you might need to adjust the liquid content slightly.
How do I store milk bread properly?
To maintain the softness of your milk bread, it’s crucial to store it correctly. Wrap the cooled loaf in plastic wrap or aluminum foil and place it in an airtight container. Alternatively, you can use a bread bag. Storing it at room temperature is best, and it can last for about 3 to 4 days.
What’s the best way to reheat leftover milk bread?
If you’re craving that fresh-baked warmth, simply slice the bread and pop it in a toaster or use an oven set to low heat. This gentle reheating process restores softness without drying it out. Enjoy with butter or your favorite spread!
Can I freeze the milk bread?
Yes, freezing milk bread is a great way to extend its shelf life! After the bread has cooled completely, wrap it tightly in plastic wrap, followed by a layer of aluminum foil. It can stay frozen for up to three months. When you’re ready to enjoy it, simply thaw it at room temperature or warm slices in the toaster.
Now, get baking, and enjoy the delightful journey of making your delicious milk bread!
Conclusion on Milk Bread Recipe
Final thoughts: Embracing the joy of homemade bread
Creating your own milk bread at home is not just about following a recipe; it’s about embarking on a delightful journey of flavors and textures. The simple ingredients—flour, milk, yeast, and a touch of sugar—transform into a soft, fluffy loaf that elevates any meal. As you knead the dough and smell the warm aroma filling your kitchen, you’ll understand why baking bread is such a cherished tradition. Embrace the process, share the joy with loved ones, and relish every bite of your homemade creation. Trust me, once you experience this delicious milk bread, you’ll find it hard to go back to store-bought!
Print
Homemade Bread
- Total Time: 1 hour 55 minutes
- Yield: 1 loaf 1x
- Diet: Vegetarian
Description
This homemade bread is soft, buttery, and perfect for any meal. The combination of all-purpose flour, half and half, and a few other simple ingredients creates a delicious loaf.
Ingredients
Scale
- 2 tablespoons all-purpose flour
- ¼ cup half and half
- ¼ cup water
- ½ cup half and half (115ºF)
- 1 packet instant yeast (or active dry yeast)
- ¼ cup granulated sugar
- 1 tablespoon dry milk powder
- 1 large egg (beaten, room temperature)
- ¼ cup salted butter (softened)
- 2 ½ cups all-purpose flour (spooned into measuring cup and leveled off)
- 1 teaspoon salt
- 1 tablespoon water
- 1 large egg
Instructions
- Whisk starter ingredients together in a small saucepan over medium heat. Stir constantly for 4 minutes until it is thick and the whisk leaves lines in the pan. Put starter on a separate plate or bowl and let cool. Spread it thinly on a plate to cool faster.
- Add the warmed half and half to the bowl of a stand mixer. Sprinkle the yeast over the top and let it sit for 2-3 minutes to get a little frothy. Then add the sugar, milk powder, egg, butter, flour, and salt to the bread machine. Mix just until barely combined.
- Add in the cooled starter. Put on dough hook attachment on the stand mixer and knead on low for 7-10 minutes. The dough should feel very greasy at this point. Don’t be tempted to add more flour. The dough should be tacky to the touch, not dry at all.
- Transfer into a lightly oiled bowl, cover with plastic wrap or a clean kitchen towel, and let it rise for 1 hour or until the dough has doubled in size.
- Transfer dough to a clean surface and divide it into 4 equal sections. Roll each piece out into about 8×5 inches in diameter. Fold the long sides into the center and then roll it up like a cinnamon roll.
- Place each piece into a lightly greased 8×4 (or 9×5) inch pan. Cover and let rise for an additional 45 minutes.
- Preheat oven to 350ºF.
- In a small bowl, whisk together the egg and water. Brush the top of the risen dough lightly with the egg wash. Bake for 30-35 minutes or until golden brown. The inside should be 190ºF.
- Remove bread from the oven and allow it to sit in the pan for 5 minutes before transferring it to a wire rack to cool completely. Cut or pull apart bread to serve.
Notes
- For best results, use room temperature ingredients.
- Ensure the yeast is fresh for optimal rising.
- Experiment with different types of flour for unique flavors.
- Prep Time: 20 minutes
- Cook Time: 35 minutes
- Category: Breads
- Method: Baking
- Cuisine: American
Nutrition
- Serving Size: 1 slice
- Calories: 150
- Sugar: 2g
- Sodium: 150mg
- Fat: 7g
- Saturated Fat: 4g
- Unsaturated Fat: 1g
- Trans Fat: 0g
- Carbohydrates: 20g
- Fiber: 1g
- Protein: 3g
- Cholesterol: 30mg