Follow Me On Social Media!
Sourdough Starter Recipe: Easy Homemade Guide for Blissful Bread
Introduction to Sourdough Starter Recipe: Easy Homemade Guide for Beginners
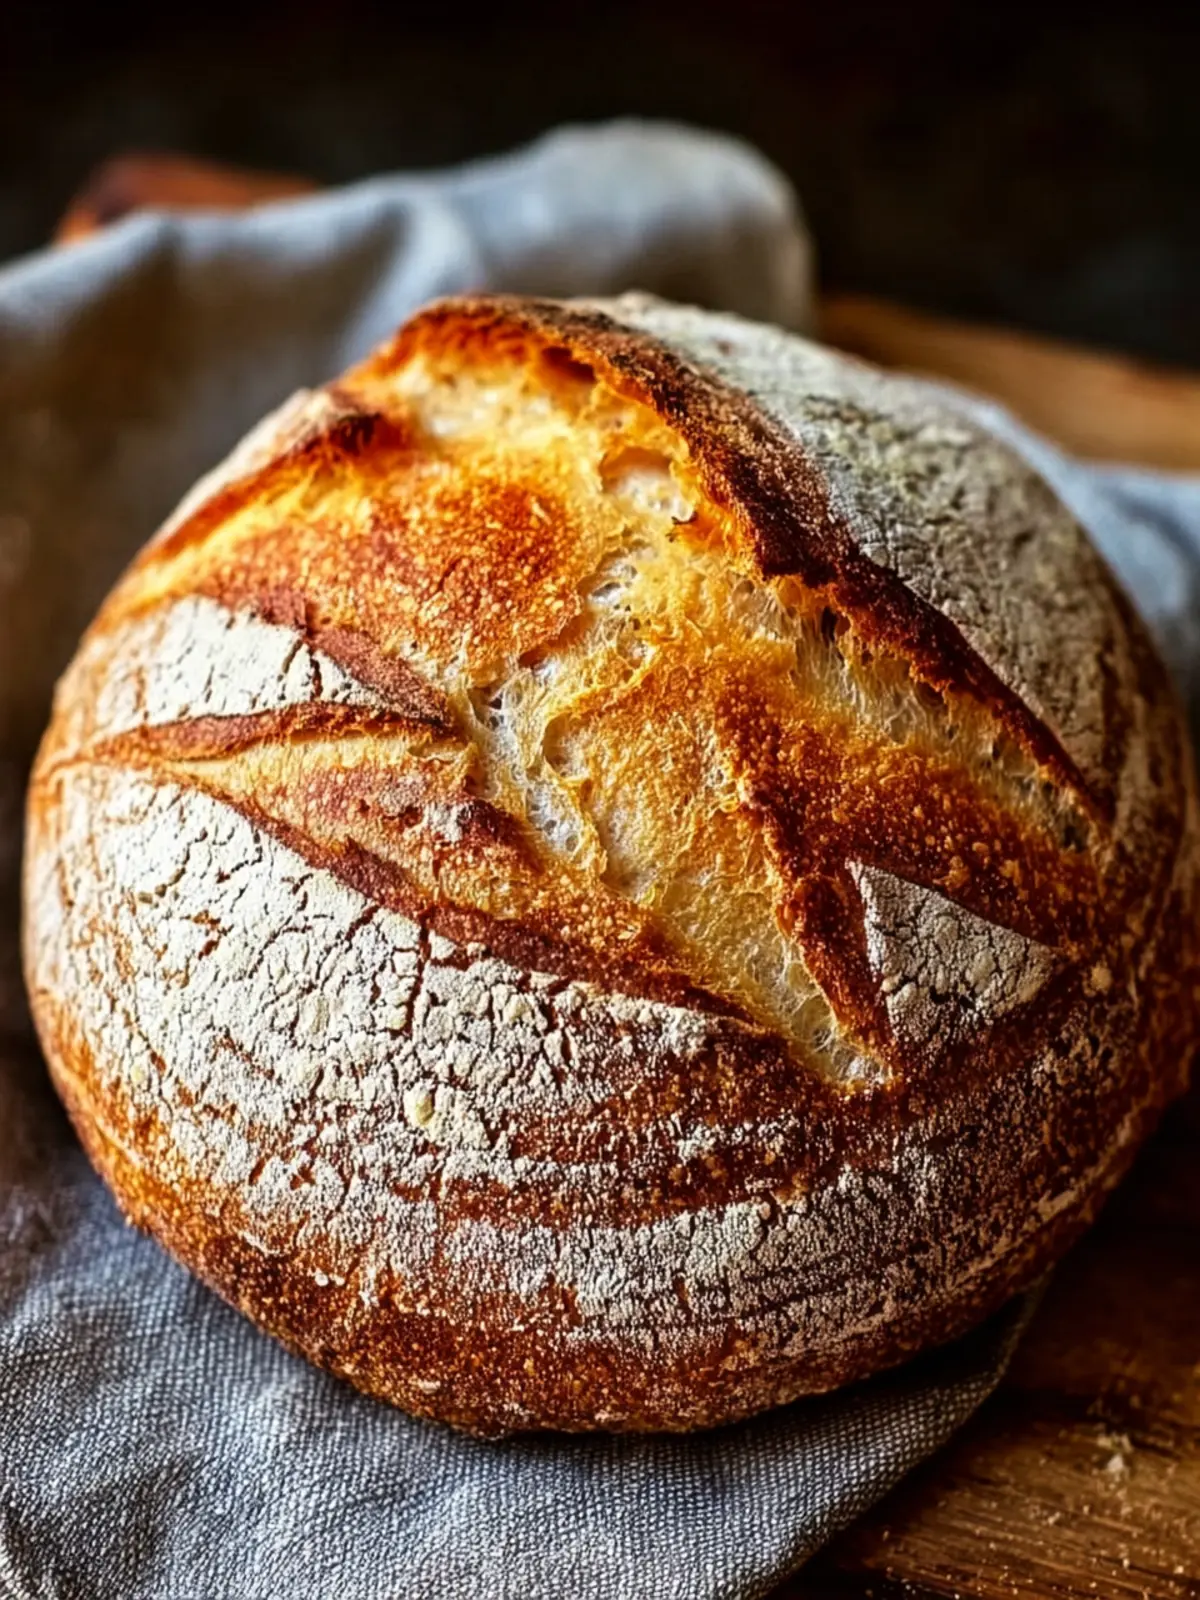
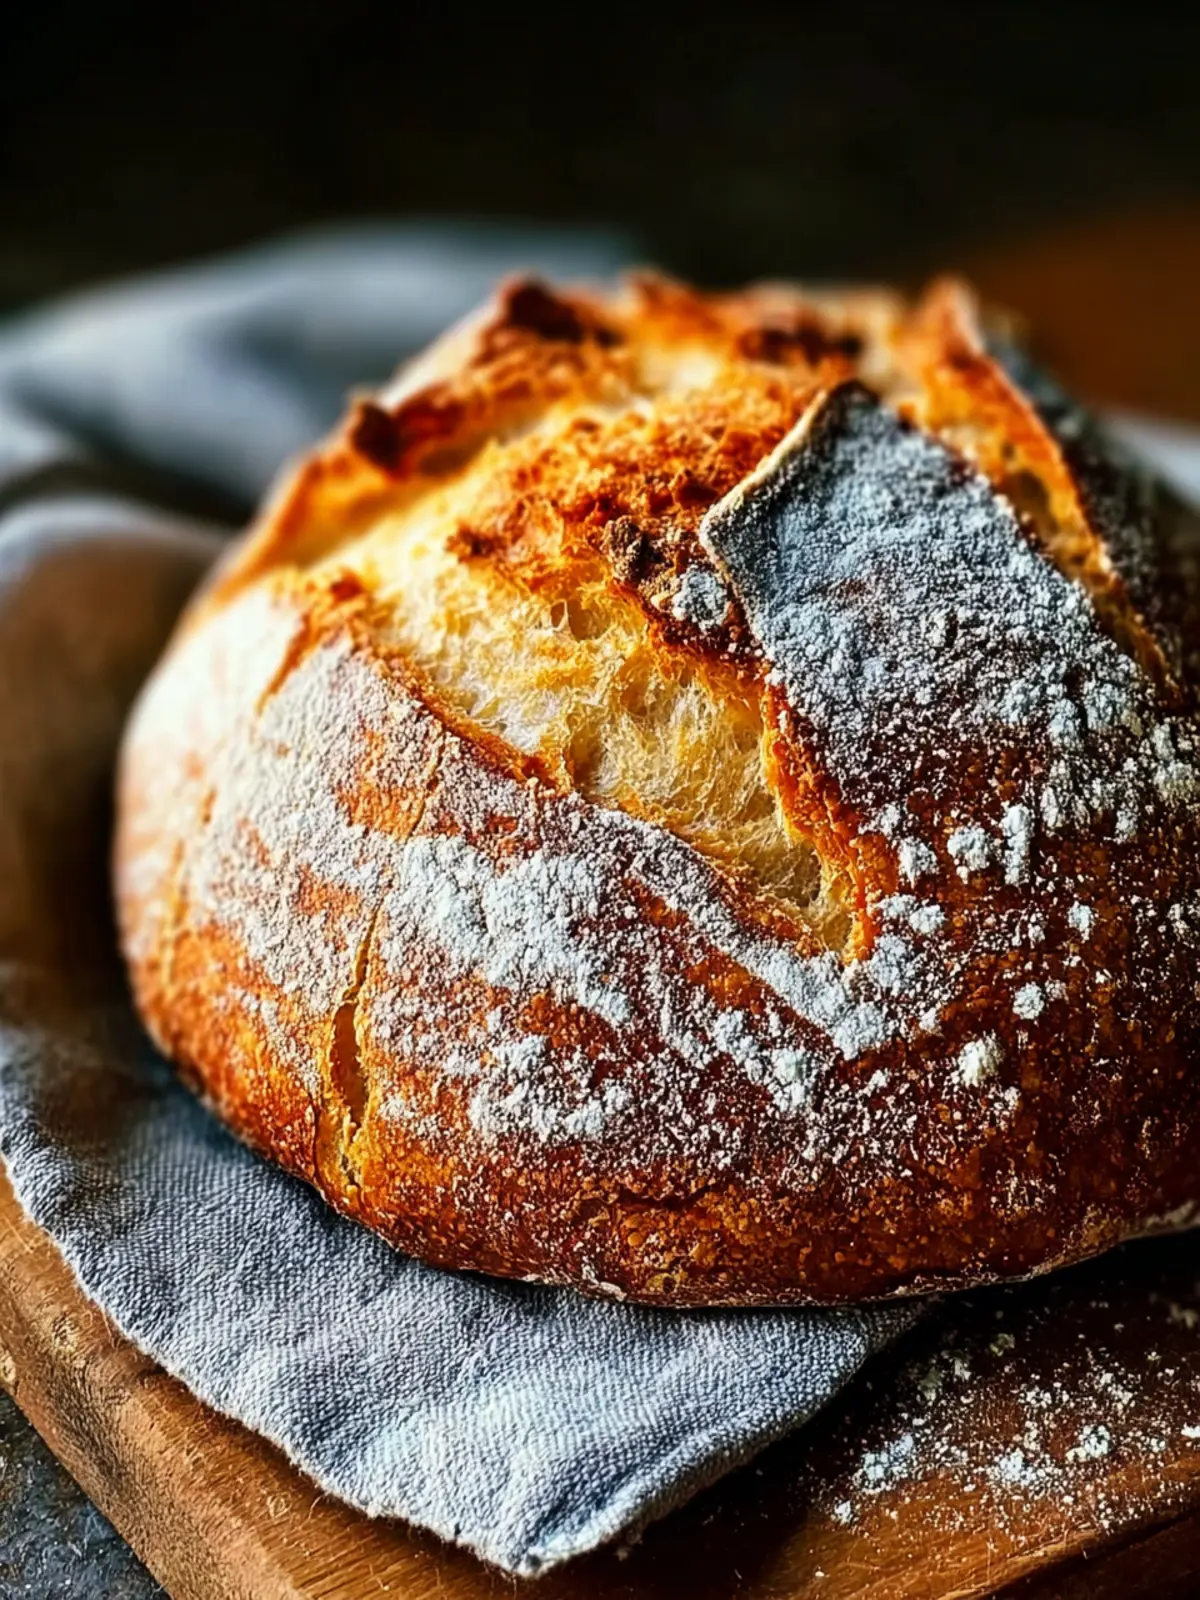
Embarking on your sourdough journey with a sourdough starter recipe is not just about baking bread; it’s about nurturing a living culture that transforms simple ingredients into something extraordinary. Picture this: A warm loaf fresh from the oven, its crust crackling as you slice into it, releasing an aroma that envelops your kitchen. That’s the magic of sourdough, and it all starts with the starter.
So, what makes sourdough so special? For starters, it’s the unique combination of wild yeasts and beneficial bacteria that feasts on the flour, producing lactic acid. This not only gives sourdough its signature tang but also contributes to its delightful texture and crust. Unlike commercial bread, which relies on instant yeast, sourdough grows and develops character as it ferments, creating pockets of flavor that commercial yeast simply can’t replicate.
Making your own sourdough starter is a rewarding experience, even if you’re a beginner. It requires just two ingredients: flour and water. As you feed it and watch it bubble and grow over time, you’ll form a bond with this bubbling mixture. You’ll learn the rhythms of fermentation, from the first day’s small bubbles to the robust starter ready to be transformed into delectable bread. It’s not just baking; it’s a lesson in patience and care.
The best part? You’ll be part of a community that spans generations—those who have cultivated their sourdough starters over the years, sharing tips, tricks, and, of course, delicious recipes. As you try your hand at this easy homemade guide, you’ll find satisfaction in each rise and fall of your starter, building the foundation for countless loaves ahead.
Stay tuned for the ingredients you’ll need to kick-start this exciting culinary adventure!
What makes sourdough so special?
- Wild yeast and bacteria coexist to create a unique ferment.
- Offers a delightful tang and chewy crust.
- Enriches digestion through natural fermentation.
- Flour and water change into a living culture.
By the end of this guide, you’ll have the confidence to make your own sourdough starter, ready to impress friends and family with your homemade loaves.
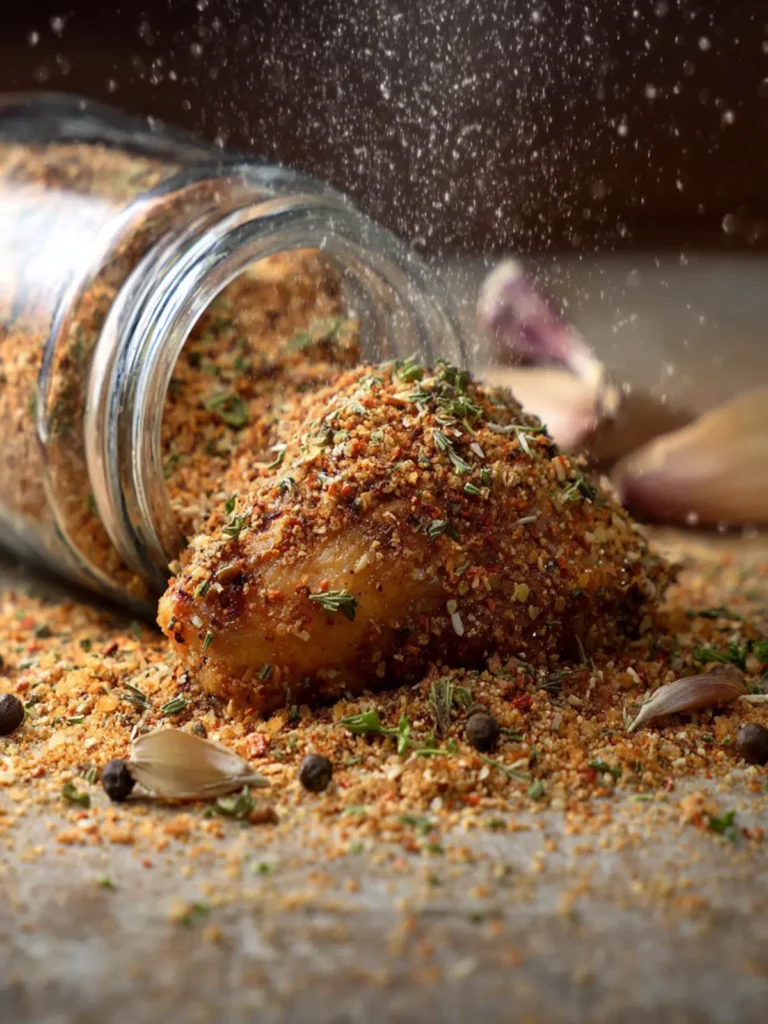
Key Ingredients for Sourdough Starter
Creating your own sourdough starter recipe is an exciting culinary adventure that connects you with a time-honored tradition. The key to a thriving starter lies in a few essential ingredients that work together harmoniously.
Flour
The foundation of any great sourdough starter is flour. I recommend using unbleached all-purpose flour, as it provides a robust environment for wild yeast to flourish. If you’re looking to infuse more flavor, consider incorporating whole wheat or rye flour, which can speed up fermentation and add depth to your sourdough.
Water
Don’t underestimate the role of water! Use room temperature, filtered, or dechlorinated water to ensure your starter develops an optimal environment for yeast growth. Avoid tap water with chlorine, as it can hinder the fermentation process.
Container
A large glass jar or a plastic container is your best bet for housing your sourdough starter. Steer clear of metal, as it can react with the starter’s acids and affect the flavor.
Kitchen Tool Essentials
For mixing, a wooden or plastic spoon is ideal. To keep your starter covered while allowing it to breathe, use a clean kitchen towel or a coffee filter. This prevents unwanted debris from entering while providing air circulation for the yeast to thrive.
By paying attention to these vital ingredients, you set the stage for a successful sourdough starter, ready to rise to delicious occasions!
Why You’ll Love This Sourdough Starter Recipe
Every journey into baking begins with a single step, and starting your own sourdough starter opens the door to a world of flavor and creativity. Imagine the satisfaction of pulling a fresh loaf out of the oven, filled with that iconic tang and beautifully chewy texture—thanks to your very own starter.
Simple and Accessible
This sourdough starter recipe is designed for busy young professionals looking to bring a bit of artisanal magic into their kitchen. Gather just a few simple ingredients: all-purpose flour, water, and time. Yes, time is crucial, as this slow fermentation process cultivates the complex flavors that will elevate your baking game.
Personalized Flavor
What’s more exciting than crafting something unique? Your sourdough starter evolves with you—each batch reflects your environment, the flour you use, and even the seasons. This means that no two starters are exactly alike, and you’ll create loaves that are truly one-of-a-kind.
Minimal Ingredients, Maximum Reward
With just flour and water, you’ll unlock the age-old technique of wild yeast fermentation. This method is not only satisfying but also remarkably forgiving, making it perfect for beginners. Plus, you’ll be contributing to a sustainable baking tradition that reduces reliance on store-bought yeast.
By investing just a bit of your time and enthusiasm, you’ll soon find your kitchen filled with the irresistible aroma of freshly baked bread. So, roll up your sleeves and embark on this delightful culinary journey!

Variations of Your Sourdough Starter
In the fascinating world of sourdough baking, your sourdough starter is not just a one-size-fits-all concoction—it can take on many forms. The beauty of a sourdough starter recipe lies in its adaptability, allowing you to experiment and find the flavor profile that suits your palate.
Whole Wheat Flour Variations
Using whole wheat flour can add a nutty flavor and increase the nutritional value of your starter. It’s denser, which means it might require a bit more water during the feeding process. When using whole wheat, pay close attention to hydration levels as they can vary significantly.
Rye Flour Versions
Many bakers swear by rye flour for their starters. Rye contains more enzymes and sugars than white flour, making it a great choice for aesthetics and flavor. If you want a deeper, earthier taste, try incorporating rye flour into your starter routine. Just remember that it’s slightly thirstier than regular all-purpose flour.
Alternative Flours
Curious about trying something new? Consider alternative flours like spelt or einkorn. These ancient grains can bring unique flavors to your sourdough starter, offering a delicious twist on the classic bread flavor.
Gluten-Free Starters
If gluten is a concern, there are ways to create gluten-free sourdough starters. Rice flour or a gluten-free flour blend can be used, making sure you still maintain the right hydration and feeding ratios. It may take a bit more experimentation, but the results can be rewarding.
Each variation not only introduces new flavors but also enhances your baking skills, making sourdough an ever-evolving journey.
Tips for Maintaining Your Sourdough Starter
Creating a sourdough starter recipe isn’t just the beginning of your baking journey; it’s like bringing a living organism into your kitchen. The magic of a sourdough starter lies in its unique blend of wild yeasts and bacteria, but it does require a bit of love and care to keep it thriving.
Feeding Your Starter Regularly
To ensure your sourdough starter stays bubbly and active, make it a habit to feed it at least once a week if stored in the fridge or every day if it’s kept at room temperature. Use equal parts of flour and water, ideally at room temperature, and mix it until smooth. This routine helps maintain the right balance of yeast activity.
Watch the Consistency
Your starter should be thick but pourable. If it’s too runny, it might need a bit more flour; if it’s overly thick, add more water. A consistent texture encourages better fermentation.
Smell and Appearance
Trust your nose! A healthy starter should have a pleasantly tangy smell. If you notice off odors or discoloration, it might be time to discard and start fresh.
Storing Tips
If you’re not baking often, store your starter in the fridge, covered but not airtight. Just remember to take it out a day before you plan to bake, and give it a few feedings to get it back to its bubbly best.
Using these tips will help keep your sourdough starter happy, allowing you to bake delicious loaves that are full of flavor and character!

Time Breakdown for Making Sourdough Starter
Creating your own sourdough starter at home is a rewarding journey that can transform your baking experience. Understanding how to manage your time effectively will make this process even smoother.
Preparation Time
Getting started takes just about 10 minutes. You’ll mix flour and water to create a thick paste, laying the foundation for your starter.
Feeding Time
Once you’ve got your initial mix going, you’ll devote a daily 5 minutes to feed your starter with equal parts flour and water. This nurturing process encourages your wild yeast to flourish.
Total Time
From mixing your initial ingredients to baking with your fully developed starter, you’re looking at around 5 to 10 days. The wait is worth it when your sourdough starter is bubbling and ready to create delicious loaves!
Nutritional Facts About Sourdough Starter
When delving into the world of homemade bread, understanding the nutritional profile of your sourdough starter can enhance your baking journey. This magical mix of flour and water is not just about creating delicious bread; it’s packed with helpful nutrients for your well-being.
Calories
A typical serving of sourdough starter contains approximately 50 to 80 calories, depending on hydration levels and the type of flour used.
Protein
You’ll find about 1 to 2 grams of protein in a serving of sourdough starter. While not a complete protein source, it contributes to your overall intake when used in various recipes.
Carbohydrates
A serving generally has around 11 to 15 grams of carbohydrates. This energy boost can fuel your day, especially when paired with nutrient-dense toppings.
Understanding these facts helps you appreciate the role of sourdough starter in your culinary creations. Enjoy your baking!
FAQs About Sourdough Starter
Creating a sourdough starter recipe is an exciting journey toward baking delicious breads at home, but it often comes with its share of questions. Let’s break down some common concerns to ensure your baking experience is as smooth as freshly baked bread.
What should I do if my starter is not bubbling?
If your sourdough starter isn’t bubbling after a feeding, don’t worry just yet! Here are a few things to check:
- Warmth: Ensure your starter is in a warm spot, ideally between 75°F to 85°F. Too cool, and it may be sluggish.
- Feeding Ratio: Make sure you’re using the right ratio of flour and water to your starter. A common mix is 1:1:1 (equal parts starter, flour, and water).
- Time: Sometimes, starters just need more time. Be patient—it can take up to a week for a starter to become fully active.
How often should I feed my sourdough starter?
For a healthy sourdough starter, routine feeding is essential. If kept at room temperature, consider:
- Every 12 hours: This is ideal if you’re baking regularly.
- Every 24 hours: If you keep your starter in the fridge, a weekly feeding is sufficient. Just bring it to room temperature and feed it before using.
Can I use regular flour for my sourdough starter?
Absolutely! While whole wheat or rye flour can kickstart activity due to their nutrients, all-purpose flour works perfectly well. It’s all about the balance, so feel free to experiment with what you have on hand. Just ensure that your starter is regularly fed to maintain good health!
These insights should help clarify some of your sourdough starter concerns, bringing you one step closer to baking that perfect loaf.
Conclusion on Sourdough Starter Recipe
Creating your own sourdough starter is an enjoyable and rewarding experience that opens the door to a world of homemade bread. Once you’ve successfully cultivated your starter, you’ll appreciate the unique flavors and textures it can bring to your baking. With just flour and water, you’ve harnessed the power of fermentation, giving you the freedom to bake delicious loaves, crusty baguettes, or fluffy pancakes. Remember, patience is key—embrace the process and don’t rush. Share your adventures in sourdough with friends and family, and let every loaf tell your culinary story! Happy baking!
Print
Sourdough Starter
- Total Time: 7 days
- Yield: 1 jar of starter 1x
- Diet: Vegetarian
Description
A comprehensive guide to creating and maintaining a sourdough starter.
Ingredients
Scale
- 4 cups all-purpose flour (unbleached works best for wild yeast cultivation)
- 4 cups room temperature water (filtered or dechlorinated to avoid inhibiting yeast growth)
- 1 cup whole wheat flour – Creates a more robust, earthy starter with faster fermentation
- 1 cup rye flour – Develops intense flavor and attracts wild yeast effectively
- 1 cup bread flour – Higher protein content creates stronger starter activity
- 1 large glass jar or plastic container (avoid metal which can react with acids)
- 1 clean kitchen towel or coffee filter
- 1 rubber band or string
- 1 wooden or plastic spoon for stirring
Instructions
- Create Your Initial Mixture – In your clean jar, combine 1/2 cup flour with 1/2 cup room temperature water. Stir thoroughly with a clean spoon until no dry flour remains visible. The mixture should resemble thick pancake batter with a smooth, uniform consistency. Cover loosely with a kitchen towel secured with a rubber band, allowing air circulation while preventing dust and insects from entering. Place your starter in a warm, draft-free location like the top of your refrigerator or inside an oven with just the light on. Consistency in location helps maintain steady temperatures for optimal yeast development.
- Begin Daily Feeding Routine – Starting on day two, establish your feeding schedule. Discard half of your existing starter (this prevents overgrowth and maintains proper ratios). Add 1/2 cup fresh flour and 1/2 cup room temperature water, stirring until well combined. The discarding process might feel wasteful initially, but it’s essential for maintaining a healthy, active culture. Look for small bubbles forming within 12-24 hours, indicating wild yeast activity. The mixture may develop a slightly alcoholic or vinegary smell – this is completely normal and shows fermentation is occurring.
- Monitor and Adjust – Days three and four typically bring increased activity. Your starter should begin doubling in size within 4-8 hours after feeding, creating a dome-like surface covered in bubbles. The aroma evolves from yeasty to pleasantly tangy. If you notice liquid forming on top, simply stir it back in – this “hooch” indicates your starter is hungry and ready for feeding. Temperature fluctuations affect activity levels. Cooler conditions slow fermentation while warmth accelerates it. Adjust feeding frequency based on your starter’s behavior rather than strict schedules.
- Test for Readiness – By days five through seven, your sourdough starter should pass the “float test.” Drop a spoonful of freshly fed starter into a glass of water – if it floats, the starter contains enough gas production for bread making. A mature starter doubles in size predictably and maintains a pleasant, tangy aroma without any off-putting smells. Consistency in timing becomes crucial now. Your starter should peak (reach maximum height) at regular intervals, typically 4-12 hours after feeding depending on temperature and flour type.
- Establish Long-term Maintenance – Once established, your starter can live indefinitely with proper care. For daily baking, continue the feeding routine at room temperature. For weekly baking, refrigerate your starter and feed it once weekly. The cold environment slows fermentation dramatically, reducing maintenance while preserving the culture. Before using refrigerated starter, bring it to room temperature and feed it. Wait until it shows signs of activity before incorporating it into recipes.
Notes
- Ensure all utensils and containers are clean to prevent contamination.
- Watch for signs of activity such as bubbles and rising levels to know your starter is healthy.
- Be flexible with feeding times based on the conditions and responsiveness of your starter.
- Prep Time: 10 minutes
- Category: Baking
- Method: Fermentation
- Cuisine: American
Nutrition
- Serving Size: 1/2 cup
- Calories: 100
- Sugar: 0g
- Sodium: 0mg
- Fat: 0g
- Saturated Fat: 0g
- Unsaturated Fat: 0g
- Trans Fat: 0g
- Carbohydrates: 22g
- Fiber: 1g
- Protein: 3g
- Cholesterol: 0mg